AWS Code Pipeline Tutorial for CI/CD
Date Posted:It’s so convenient when you’ve implemented CI/CD to your project. You commit and push to repository and viola, in minutes it will be deployed to your instance.
I Just want to share with you guys how I did CI/CD with AWS Code Pipeline.
summary of aws code pipeline?
- Fetches changes from github using webhooks.
- The Source(github) will then be fed to codeBuild.
- codeBuild will pull the script form source/aws then run.
- codeBuild will produce output which will then fed to codeDeploy.
- codeDeploy will pull/execute the script from source/aws then run.
There are 6 Steps to create pipeline.
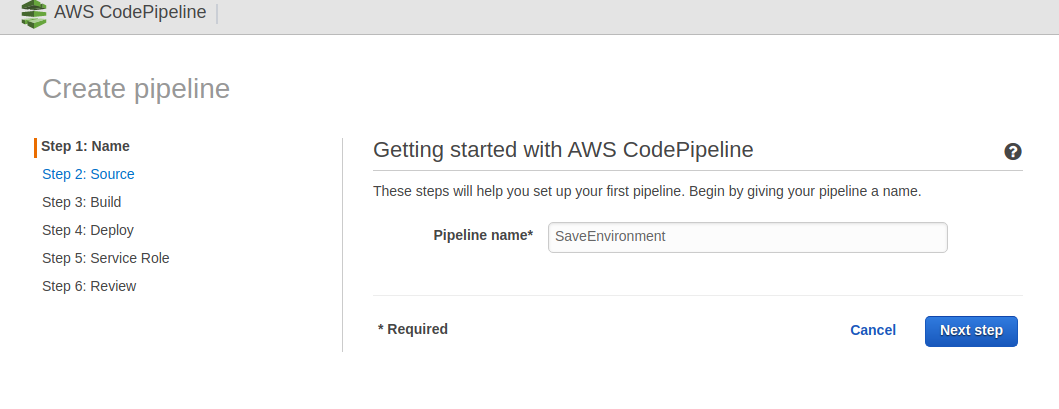
Step 1. Pipeline Name
The instructions is simple, just enter your pipeline name.
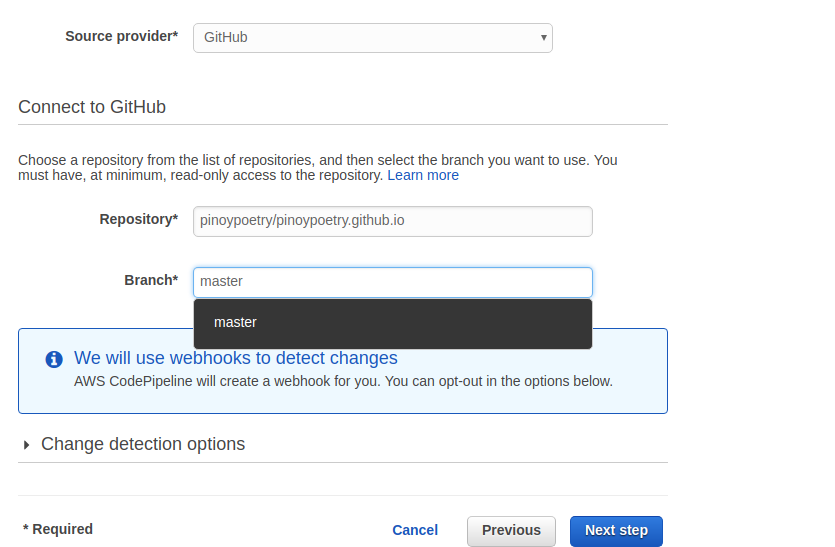
Step 2. Repository Branch
In Step 2, you have to login and authorize aws to access your repository and pick the repository and branch of your project.
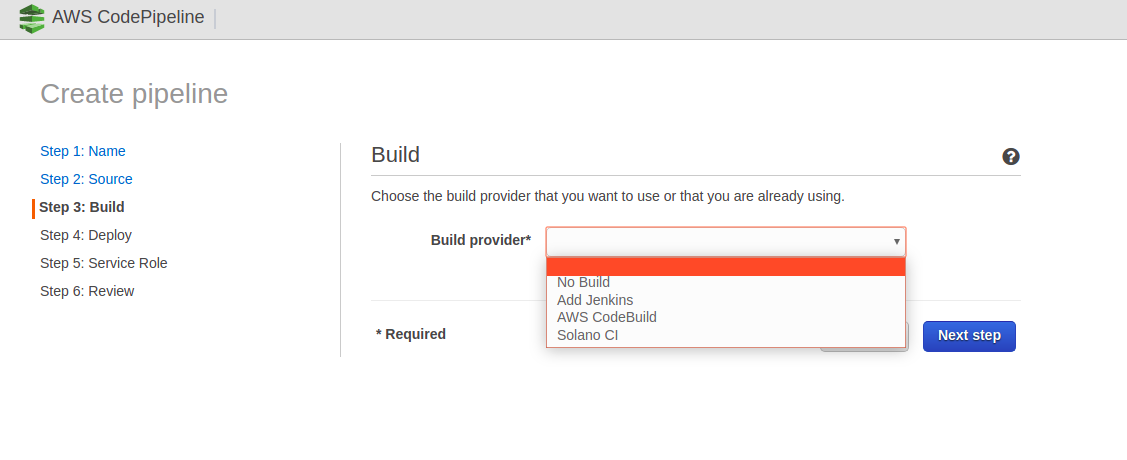
Step 3. CodeBuild
In Step 3, you have to choose which CI to integrate with, you can check other tutorial for this specific parts or my later post.
You can choose to have no CodeBuild at all by choosing no build
If you choose AWS CodeBuild it will redirect you to codebuild and will let you create one if you didn’t have any codeBuild created yet.
Step 4. CodeDeploy
For Code Deploy, you have to create a CodeDeploy first. If you don’t have one yet then you will be redirected to new tab to create your CodeDeploy Project.
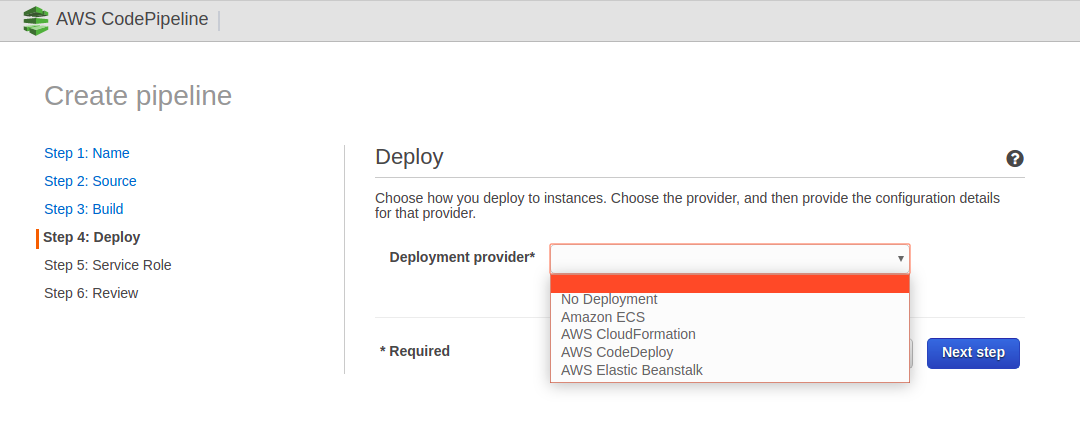
Choose or create a rol that have sufficient permission to access all the resources it needs.
Step 5. Define Service Role
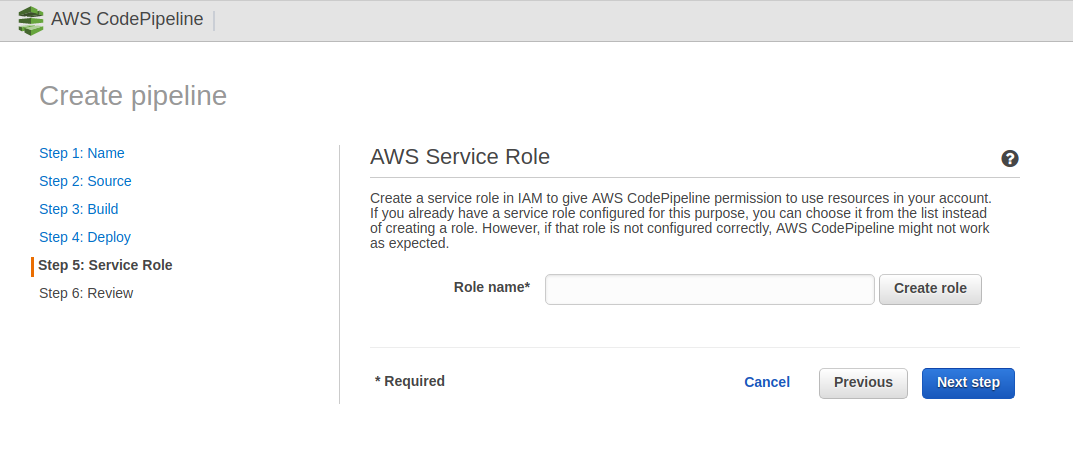
Step 6. Review
Review All your configurations and settings if correct.
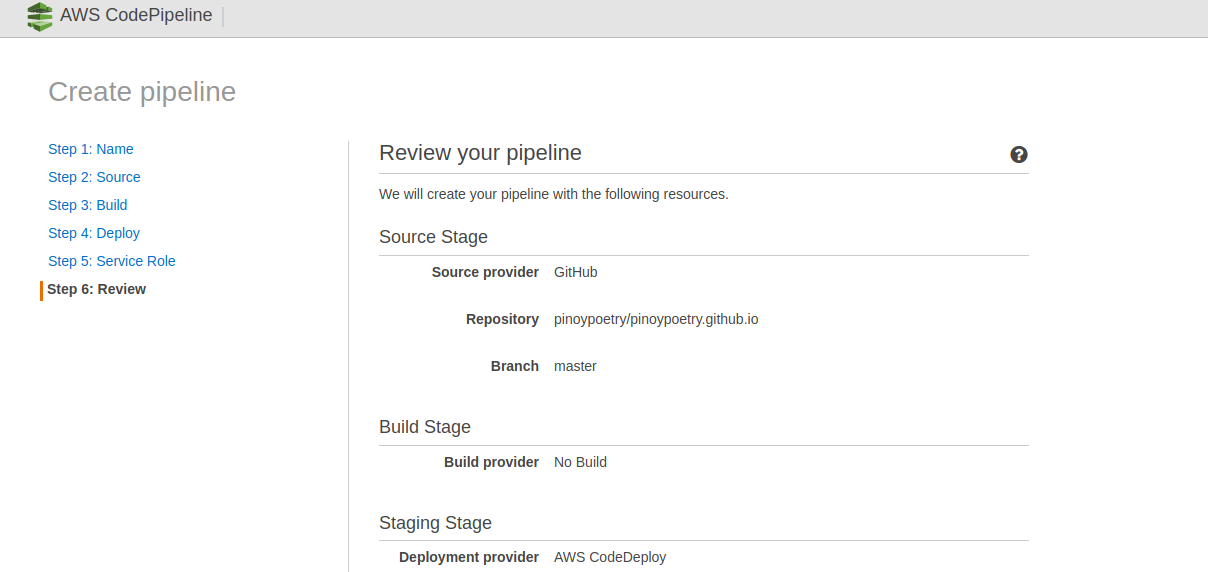
That’s all and you’re good to go.
Thanks for reading!